

The Areca M1 Driver Update
Posted by Phil Baker on
With a lot of things changing within the tech world, you have to stay on top of compatibility now more than ever. One example is driver support and luckily a few big names are sliding in with support for their already great solutions to be paired with the impressive new M1 chipped machines from Apple.
Areca is one of those brands pushing along with the newest innovations in tech and today we are going to walk through the install of their Thunderbolt 3 8050T3U series driver installation. Don’t worry, its fairly easy and I have step-by-step instructions below! For your future reference, I have started with the link to Areca’s driver page. This will prove helpful when updating your system in the future or if you are experiencing software issues with your unit. It is suggested that you save this link for your records.
Open the link to the Areca Support downloads page. This is where any drivers by the manufacturer are readily made available for the customer to download. https://www.areca.us/support/downloads.html

You will want to begin in the “Component Type” field, and select “Thunderbolt Solutions”. Next in the “Model Name” section, select “Model Name” and the appropriate 805T3U model. I have selected the 805T3U-6/6M/8/12 unit, as I know these are currently supported on the new M1 Macs. In the final section “Item Type” field, select “Driver/Utility”.


Lastly, navigate to the MacOS section at the top and chose the top hit, highlighted in the screen shot as “Universal Driver for Apple M1/Intel”. This is a Big Sur Only Driver, so if you are on an Intel Mac, but on Big Sur, this Driver is still the recommended driver for your workstation. Click on the link highlighted as “install-mraid- 20201224-BigSur”.
** If you are on a Mojave OS X on an Intel Mac, you must download the driver marked “install-mraid- 2020 1231-Mojave” **


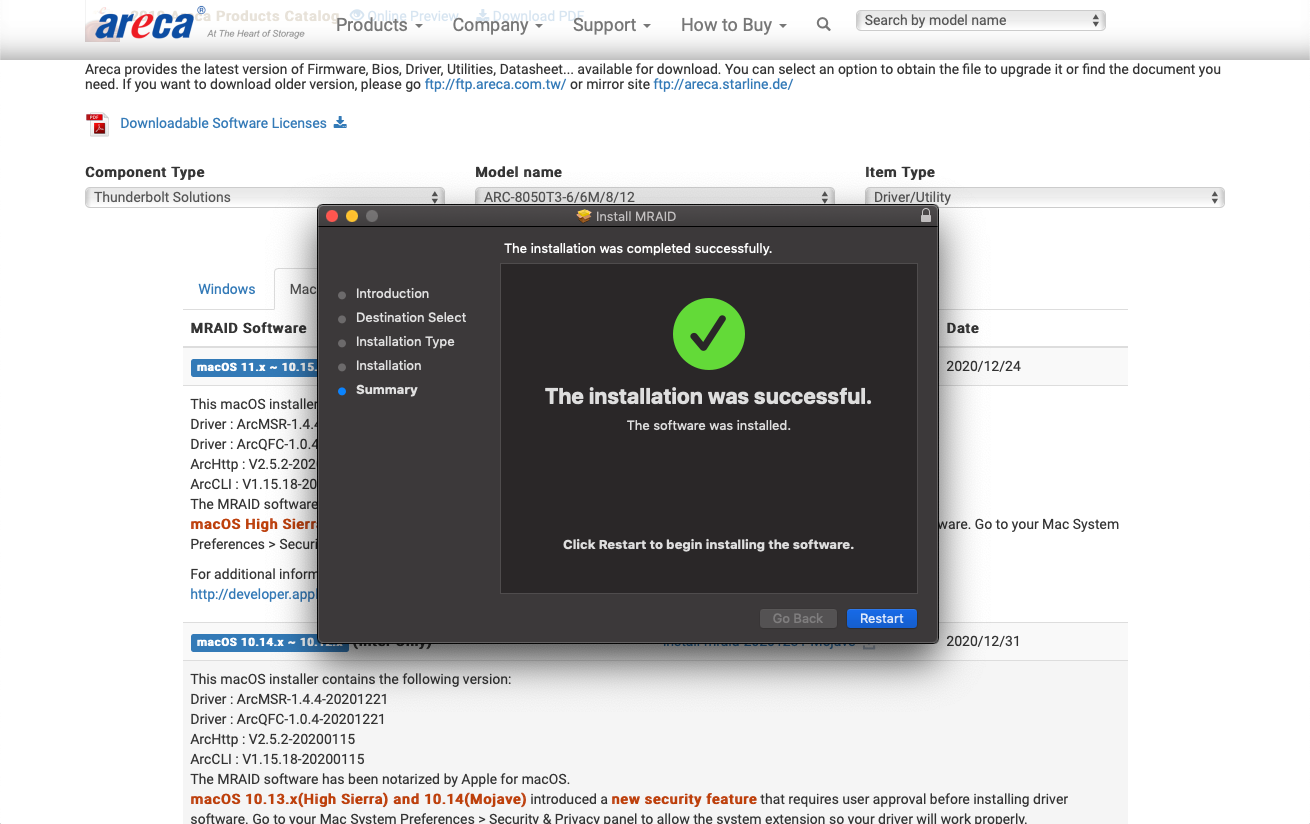
You can follow the installation steps as normal, selecting the install location as you see fit. Once installed you will be prompted by the Apple system preference window saying that an extension has been blocked, however for now we can restart our machine.


This final step will be the allowance of Areca driver system extensions. This allows the driver to work with the system and the RAID, so without it you will have no functionality.
Once you have finished your restart, navigate to your System Preferences ->Security and Privacy section.
Once you have unlocked your preferences allowing changes, you will see some text that some software has been blocked from loading and an “Allow” button adjacent.

Once you have clicked this, a list should appear with check boxes next to any blocked extension from a download. Find the “Areca” check box and click ok to continue.

From here it is suggested that you restart again and check to ensure that the extension is no longer blocked. You have now completed the setup of the new Areca drivers for the use with your new M1 Mac.